What is BotSailor
BotSailor is a free cloud-based chatbot platform that allows you to create and manage chatbots for Telegram and WhatsApp without any coding knowledge. It provides a drag-and-drop interface for building chatbot flows, as well as a variety of features for automating customer interactions, sending broadcasts, and generating leads.
Here are some of the key features of BotSailor:
- Visual drag-and-drop flow builder: Easily create chatbot conversations using a drag-and-drop interface.
- Broadcast to Telegram subscribers: Send unlimited broadcasts to your Telegram subscribers without any limitations.
- Ecommerce in Telegram Bot: Sell products and services directly through your Telegram bot.
- Live chat: Manage customer conversations in real time from a single dashboard.
- AI bot reply: Utilize OpenAI’s language processing technology to provide more efficient and personalized interactions.
To create a welcome bot in BotSailor, follow these steps:
- Create a Telegram bot.
- Connect your bot to BotSailor.
- Create a welcome message.
- Test your bot.
- Deploy your bot.
- Monitor your bot.
How to create a Telegram bot
To create a Telegram bot, you will need to use the BotFather. The BotFather is a bot that allows you to create and manage your Telegram bots.
To create a new bot, open Telegram and search for ‘@BotFather’. Send the ‘/start’ command to the BotFather. The BotFather will send you a message with instructions on how to create a new bot.
Follow the instructions to create a new bot and get your bot’s token.
How to connect your bot to BotSailor
Once you have created your Telegram bot and have your bot’s token, you can connect your bot to BotSailor.
To connect your bot to BotSailor, go to the BotSailor website and sign in.
Click on the ‘Connect Bot’ button and paste your bot’s token into the field.
Click on the ‘Connect’ button to connect your bot to BotSailor.
How to create a welcome message
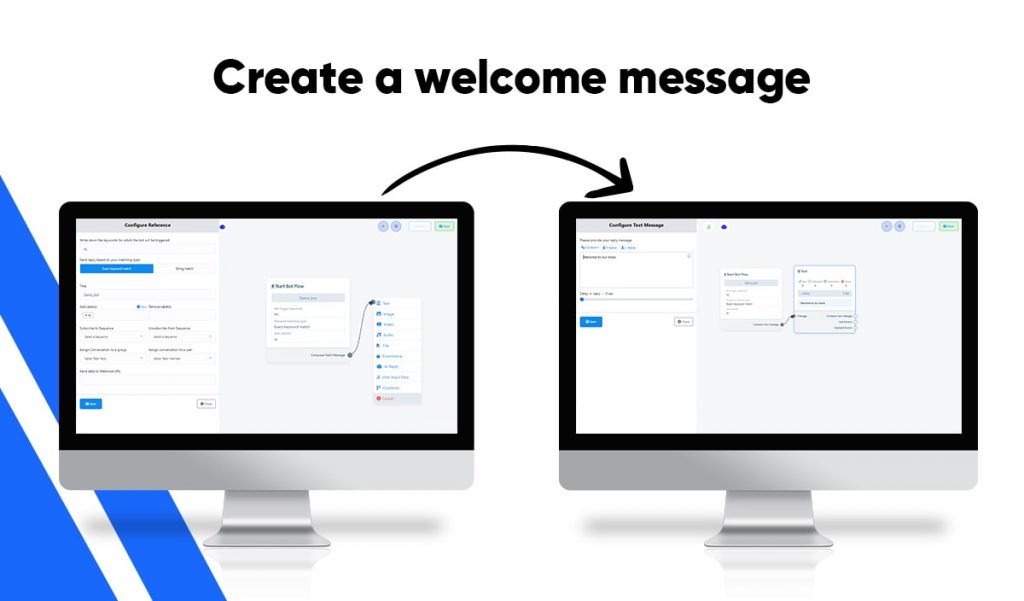
“Once your bot is linked to BotSailor, crafting a welcome message is a straightforward process:
- Navigate to the “Bot Manager,” choose a Bot account, and then click on the “Create” button to establish a new bot.
- Configure the “Start bot flow” element.
- Define keywords to activate the bot, along with specifying the “Title” and “Label.”
- Utilize the socket by dragging it onto the flow builder, then add a “Text” element.
- Input your desired welcome message in the “Text” field and save the changes.
- Save the entire bot flow.
Now, when someone triggers the bot, they will receive the designated welcome message.”
How to use AI-Based bot in BotSailor
An AI-based chatbot is a computer program that can simulate conversation with human users. It uses artificial intelligence (AI) and natural language processing (NLP) to understand and respond to user queries. AI chatbots are often used in customer service applications, where they can provide 24/7 support, answer frequently asked questions, and help users troubleshoot problems. They can also be used in marketing and sales applications, where they can collect leads, qualify prospects, and even close deals.
(This feature is not free but this is the one of the best feature of BotSailor)
To create an AI-powered chatbot in BotSailor:
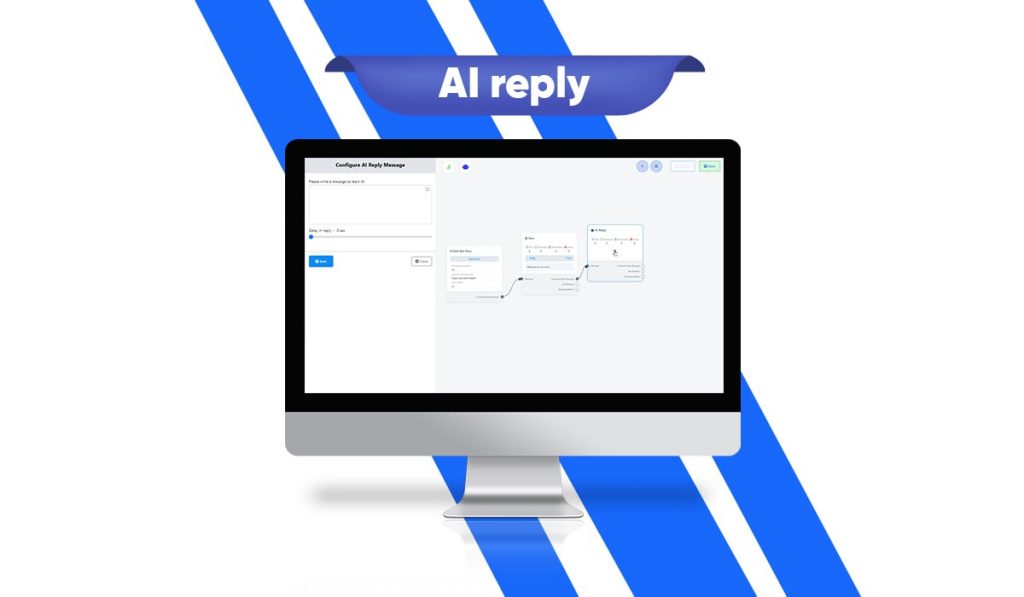
- Navigate to the Flow Builder section.
- You can either directly add an AI reply using the “Start Bot Flow” option or add a “Text” element followed by an AI reply.
- Enter your message in the “Write a message to learn AI” field. The AI will generate a response based on your input.
- Additionally, you can incorporate AI-based replies within the “No-Match” reply configuration.
How to set e-commerce in bot-flow
BotSailor eCommerce for Telegram is an innovative cloud-based platform that empowers you to set up a fully functional online store seamlessly integrated into your Telegram bot. This eliminates the need for a separate website or app.
With BotSailor, your customers can conveniently browse your product catalog, add items to their carts, and complete transactions—all within the Telegram app. The platform supports various payment methods, allowing users to pay for their orders directly through the bot.
BotSailor eCommerce for Telegram is not only a tool for increasing sales but also a convenient way for customers to shop. They can enjoy the shopping experience right from the comfort of their Telegram app, making it a hassle-free process.
Experience the future of eCommerce with BotSailor, where the power of chatbot technology meets the convenience of shopping directly within Telegram.
To integrate an ecommerce feature into your bot flow, follow these steps:
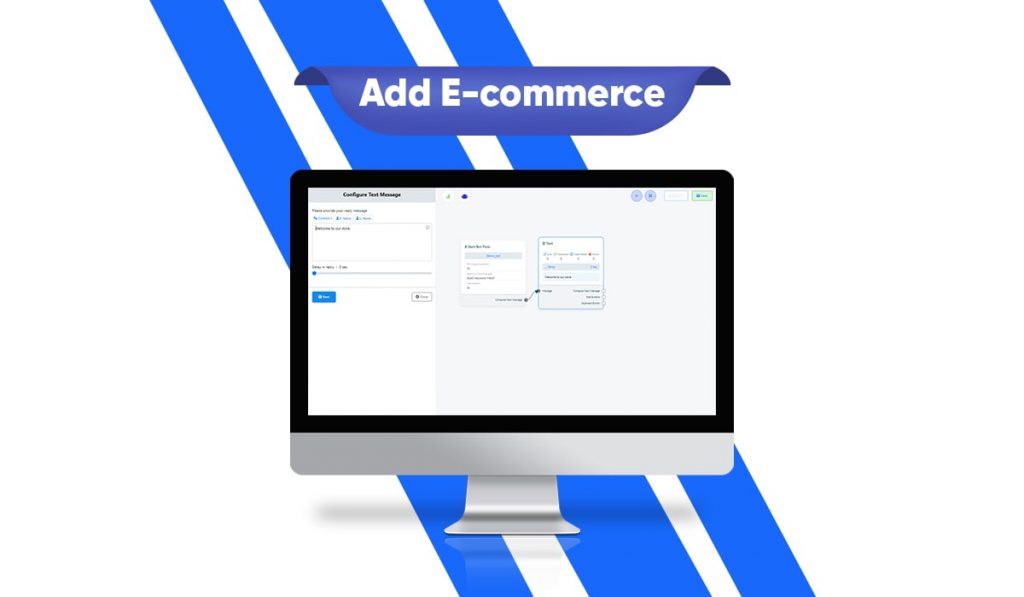
- Initiate a bot flow.
- Incorporate a “Text” element.
- Integrate an ecommerce store into your botflow by selecting it from the top menu or dragging the socket to the flow builder, which will prompt an option to add ecommerce.
- After adding the socket to the ecommerce, configure the “E-commerce” element.
- Set up the ecommerce by choosing the specific store you wish to include in the bot.
- Optionally, insert a “Buy Now” button into your bot for seamless purchasing.
- Enhance user experience by including reply text messages.
- After configuring these elements, save the ecommerce setup and save the entire bot. Your integrated ecommerce store should now be operational within the bot.
If you need more information than visit: [Link of ecommerce blog]
Use of BotSailor Sequence
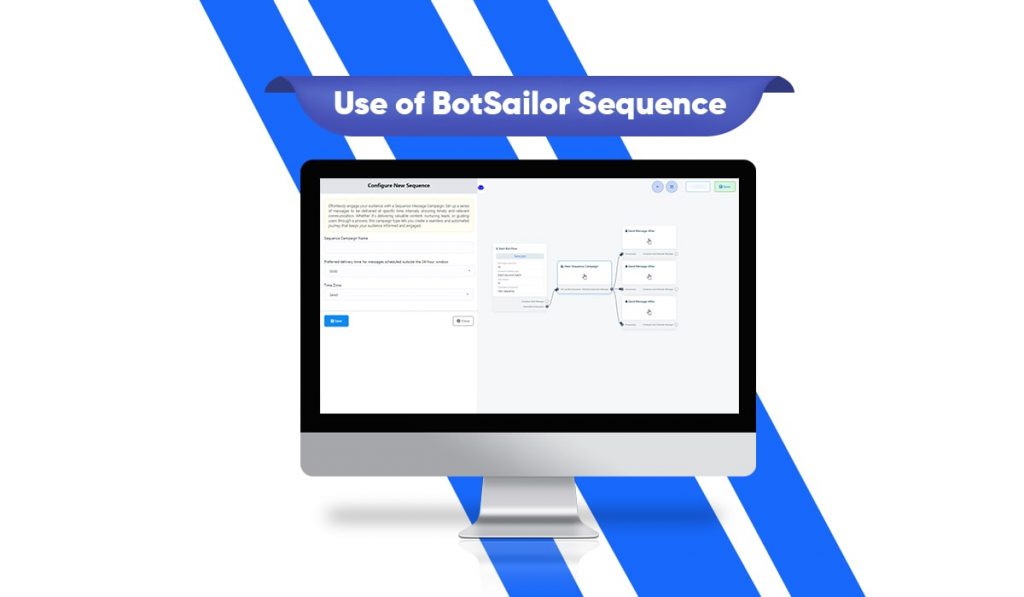
The platform’s built-in “New Sequence” feature enables users to design and personalize sequences of messages or actions for chatbots on messaging platforms. This feature enhances chatbot-user interactions by automating a series of responses or actions triggered by user inputs or predefined cues.
In practice, you can configure a series of messages sent at precise intervals, ensuring timely and contextually relevant communication with users.
Configuring a Sequence
- Initiate Sequence Creation: Double-click the “Start Bot Flow” element. Select “Subscribe to Sequence” from the pop-up menu. A new sequence will be created. Save your changes.
- Name Your Sequence Campaign: Double-click “New Sequence Campaigns.” Fill in the “Sequence Campaign Name” field.
- Schedule Message Delivery: Use the “Preferred delivery time for messages scheduled outside the 24-hour window” field to set delivery timings. Choose from preset times or manually enter your preferred time.
- Select Time Zone: Select your desired time zone from the “Time Zone” field for accurate message scheduling.
Configuring “Send Message After” Components
- Access Configuration: Double-click the “Send Message After” component.
- Choose Scheduling Option: Select either “Schedule Message Within 24-Hours Window” (for within-24-hour scheduling) or “Schedule Message for Daily Sequence” (for outside-24-hour scheduling).
- Set Message Schedule: Click the pop-up menu to choose preset times or manually define the scheduling time.
Additional Notes
- Multiple sequences can be included within a single “Flow Builder” using the designated button.
- Setting up additional sequences follows a similar process to the one described here.
